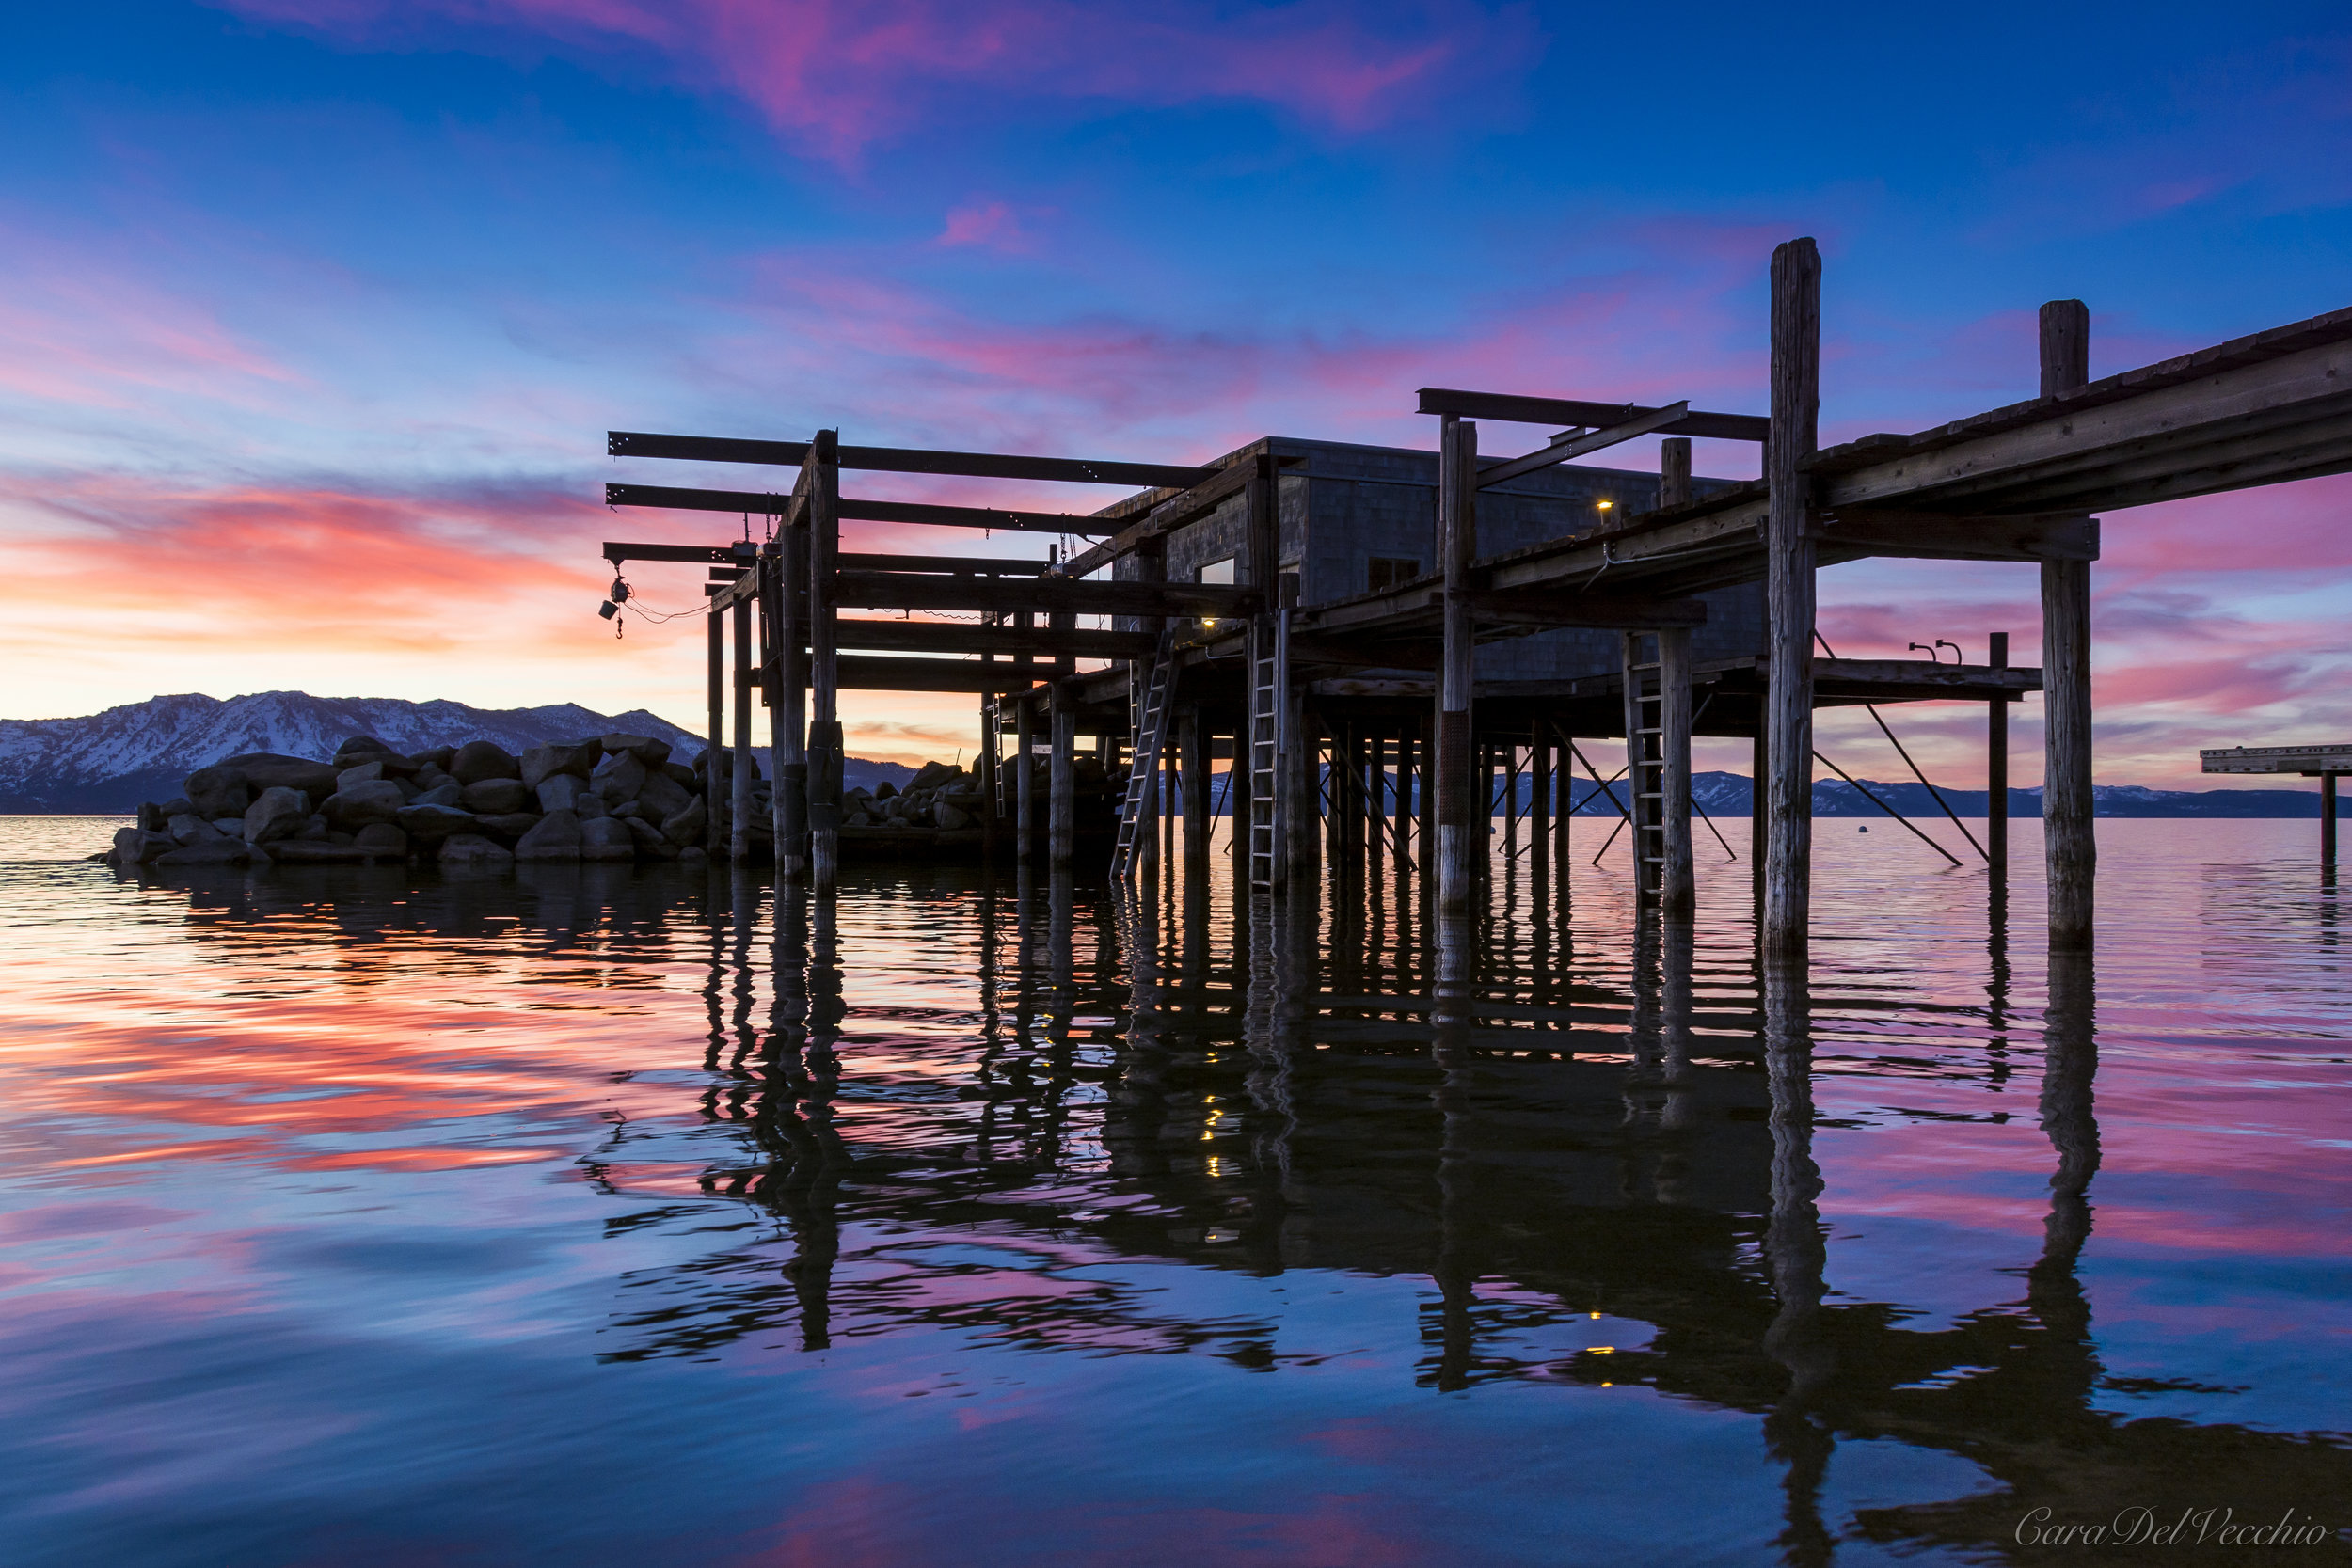
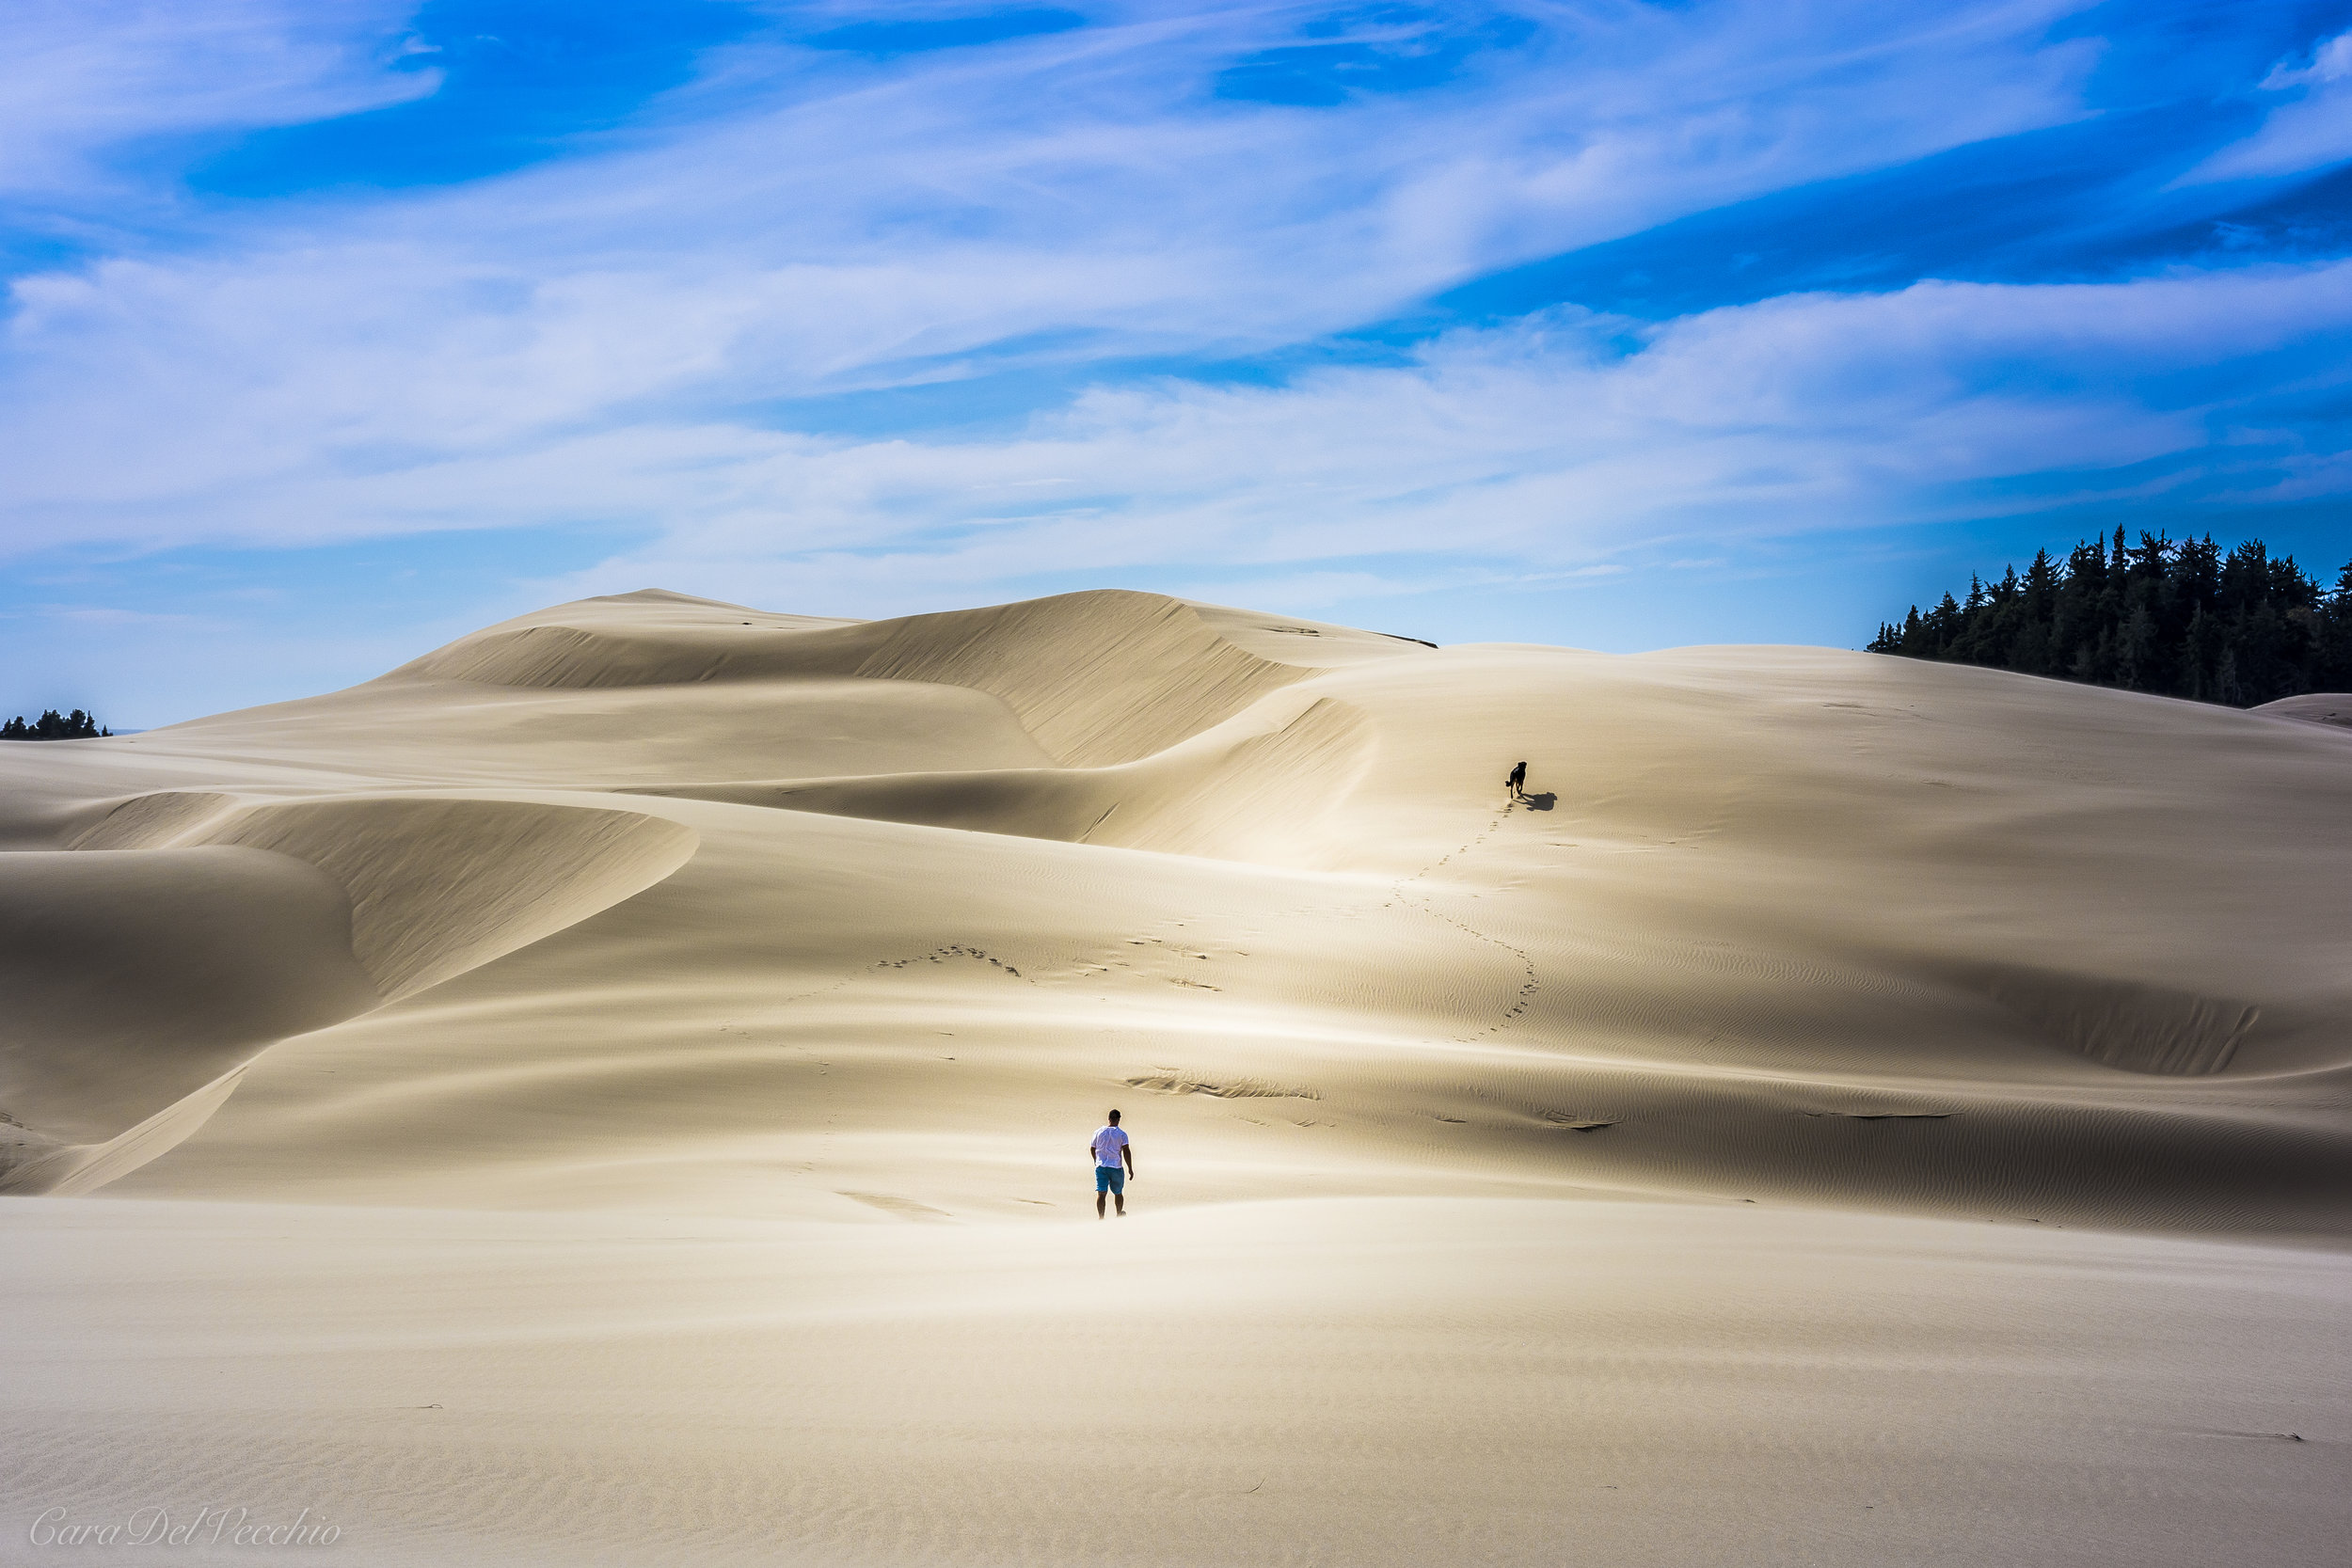
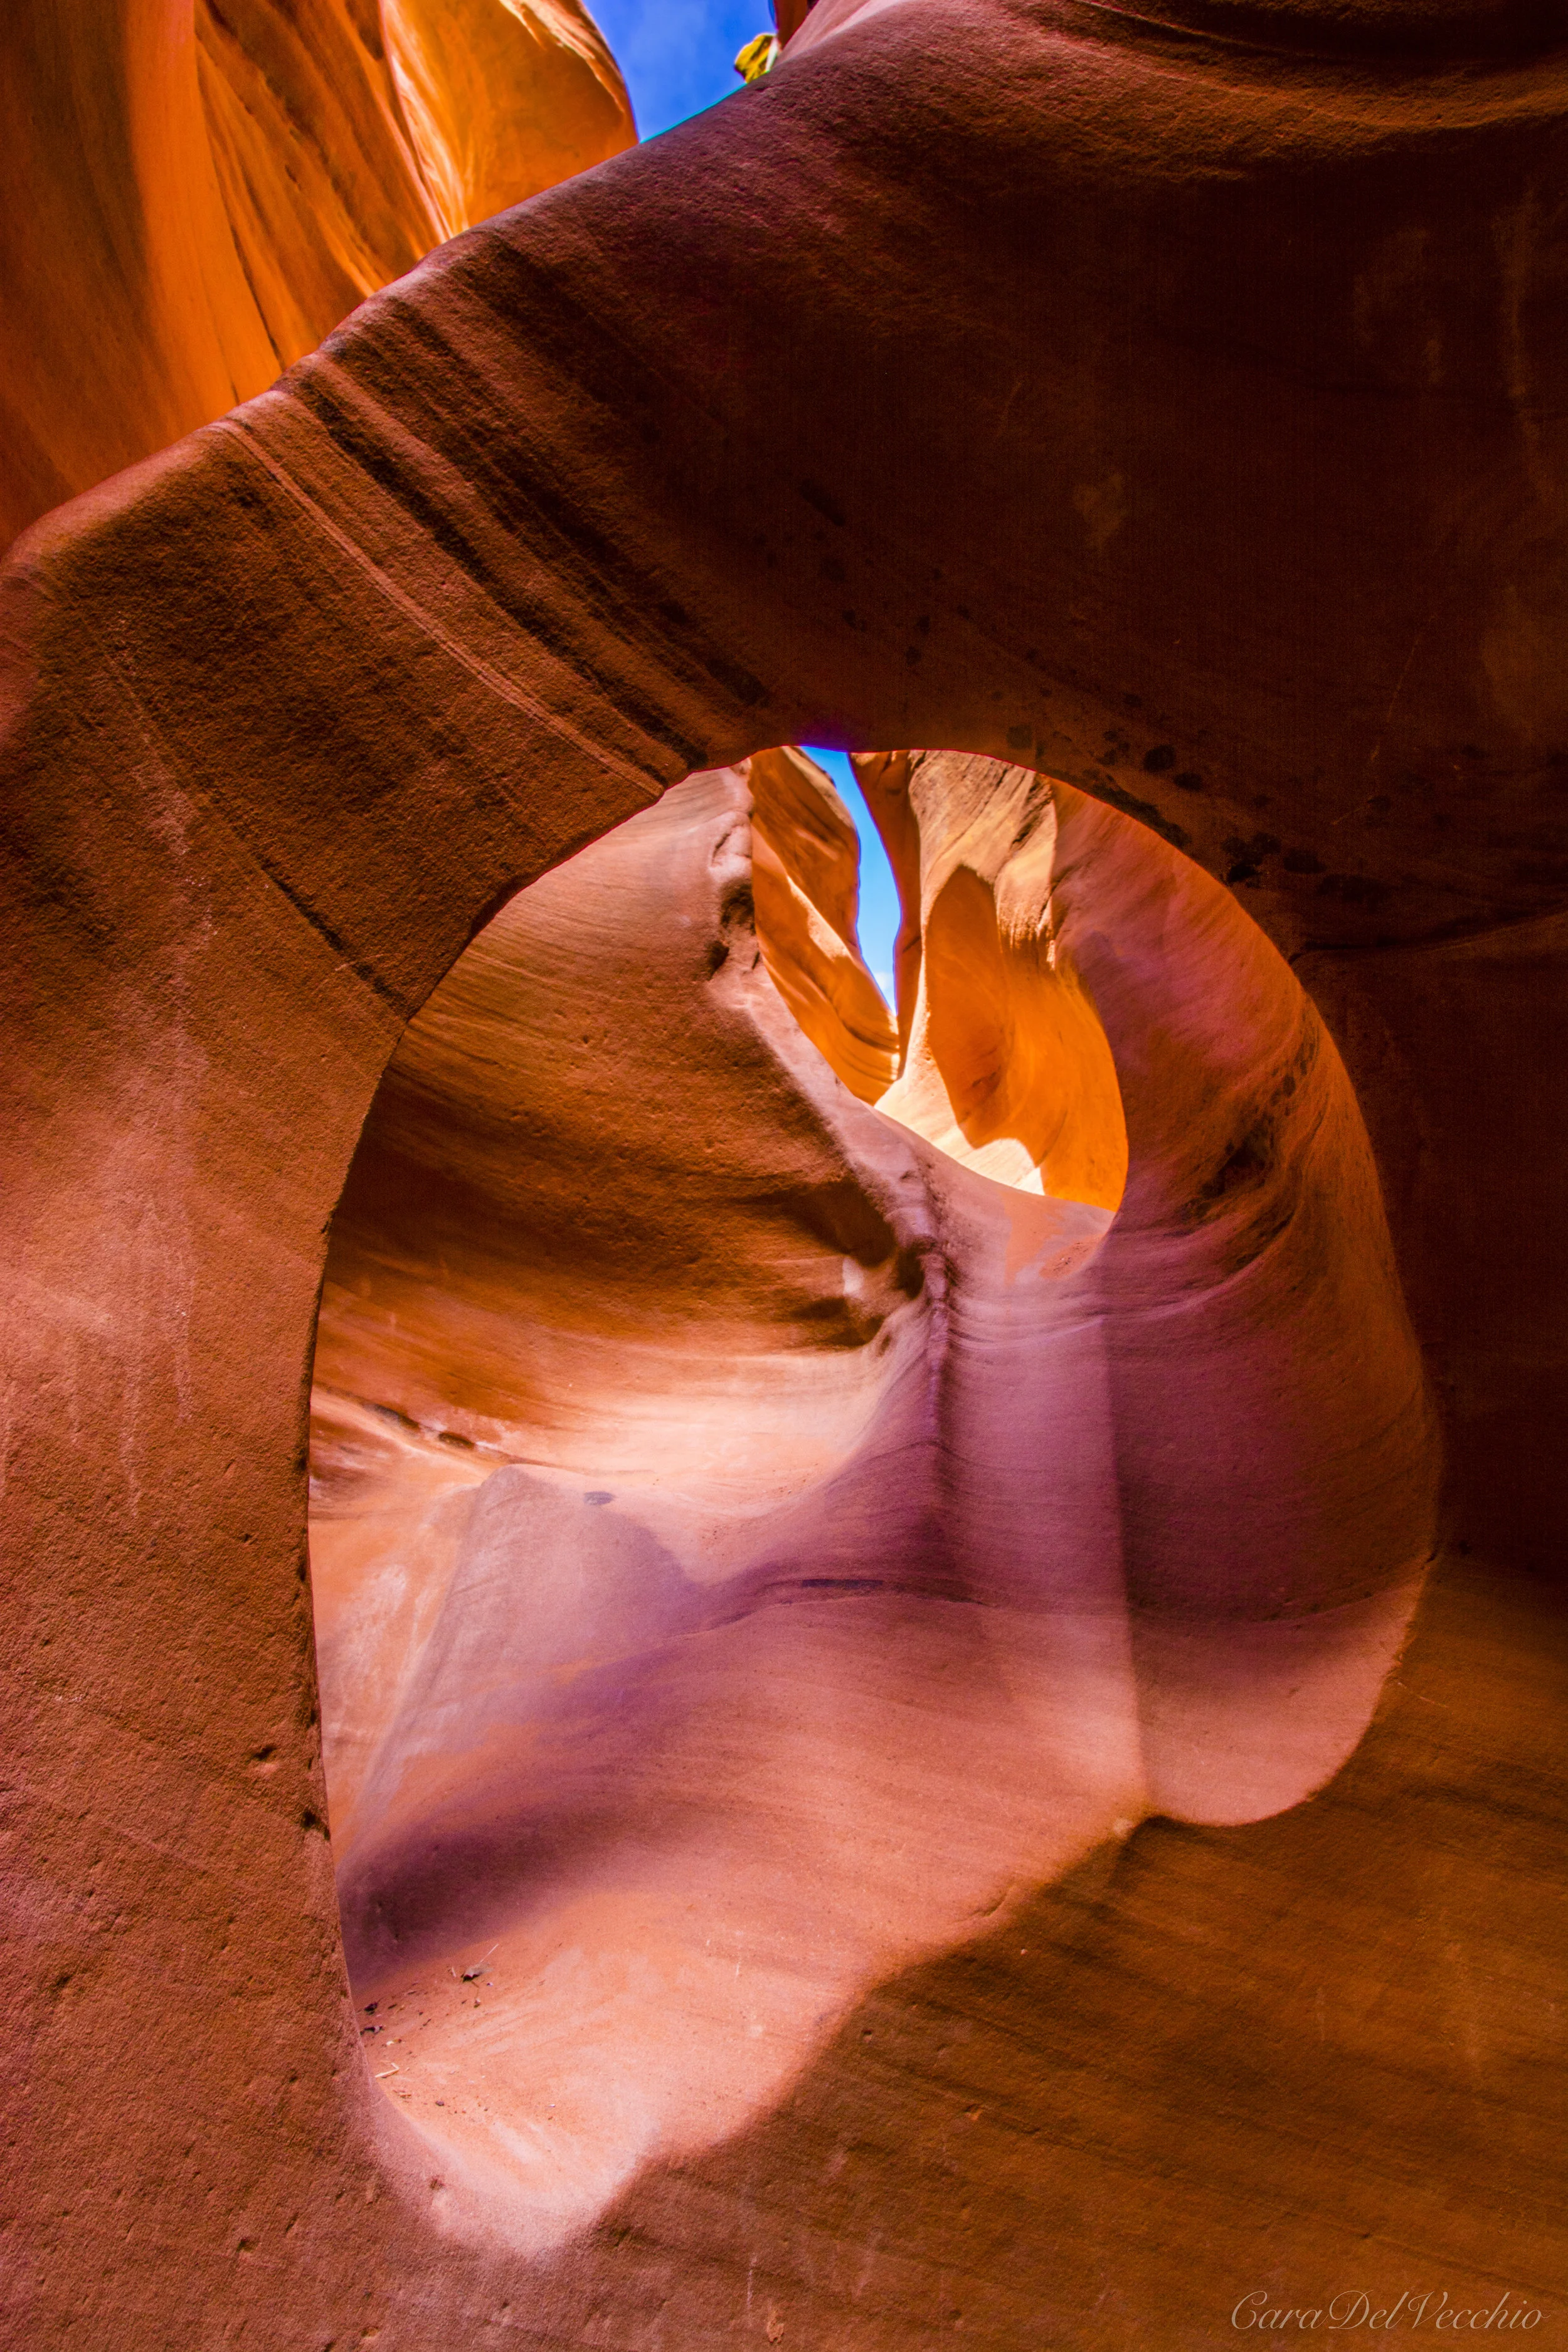
The Peaking At 70 Project would like to thank Cara Del Vecchio of Wild Perspectives Photography for supplying the following images. Click on the photos below to enlarge. Donors qualifying for photographs on canvas should take note of the number of the image of their choice.
Check out Wild Perspectives Photography for more images.
View fullsize
IMAGE #1 (Mount Ranier)
View fullsize
IMAGE #2 (Mount Shasta)
View fullsize
IMAGE #3 (Redwoods)
View fullsize
IMAGE #4 (Tahoe Boathouse)
View fullsize
IMAGE #5 (Mount Shasta)
View fullsize
IMAGE #6 (East Shore)
View fullsize
IMAGE #7 (Alpine Glen)
View fullsize
IMAGE #8 (Cathedral Gorge)
View fullsize
IMAGE #9 (Bryce)
View fullsize
IMAGE #10 (Lupines)
View fullsize
IMAGE #11 (The Coast)
View fullsize
IMAGE #12 (Mount Shasta)
View fullsize
IMAGE #13 (The Coast)
View fullsize
IMAGE #14 (Escalante)
View fullsize
IMAGE #15 (Red Lake Peak)